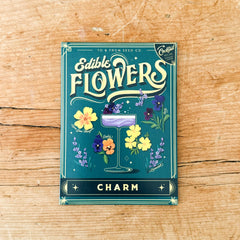
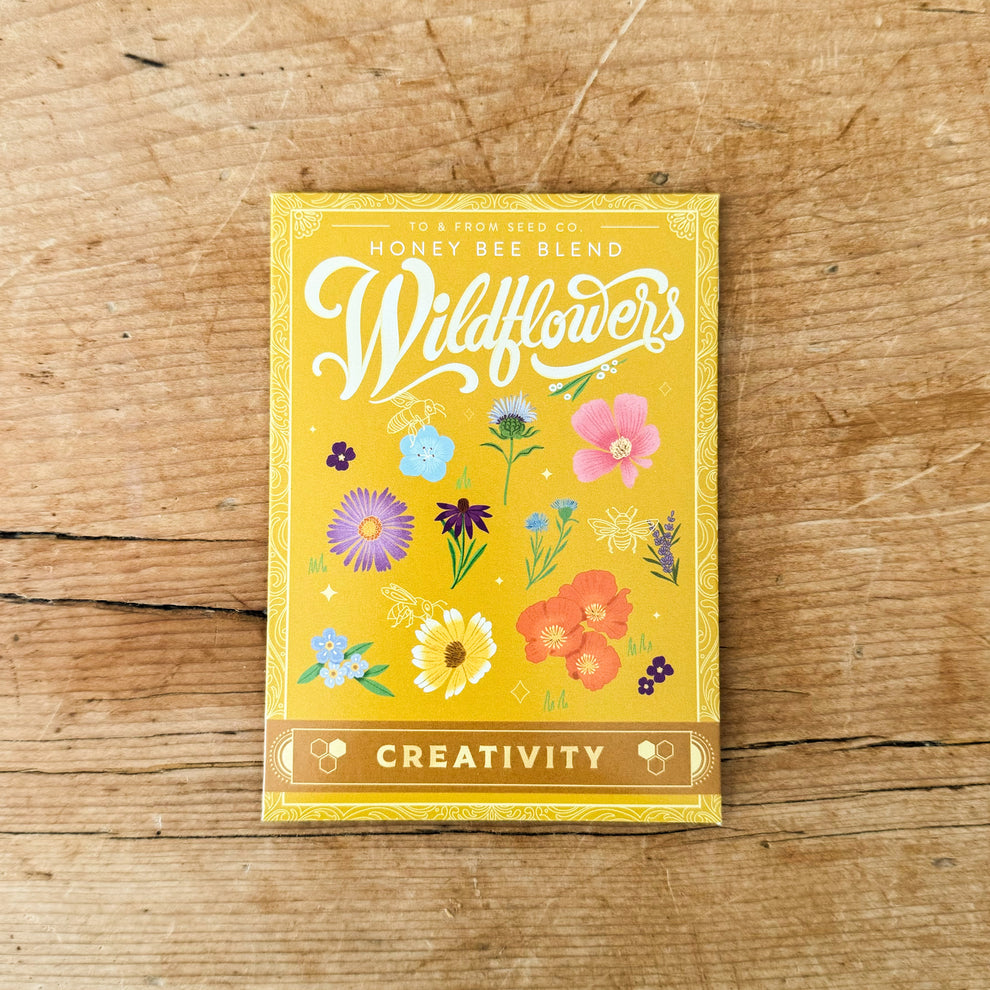
We just received the most beautiful floriography seed packs that are designed by East Coast artist Kristen De Palma.
These are an alternative to a greeting card- each package has space on the back to write "To" and "From" along with a little gift message. The seeds themselves are organic, non-GMO, and sustainably sourced here in Canada. They come with information, and growing instructions, and the Cocktail seed packs also come with a recipe card (the green seed packs).
Available seeds: Lavender, Sunflowers, Wild Strawberries, Honey Bee Wildflowers, Rosemary, Mint, and Edible Flowers.
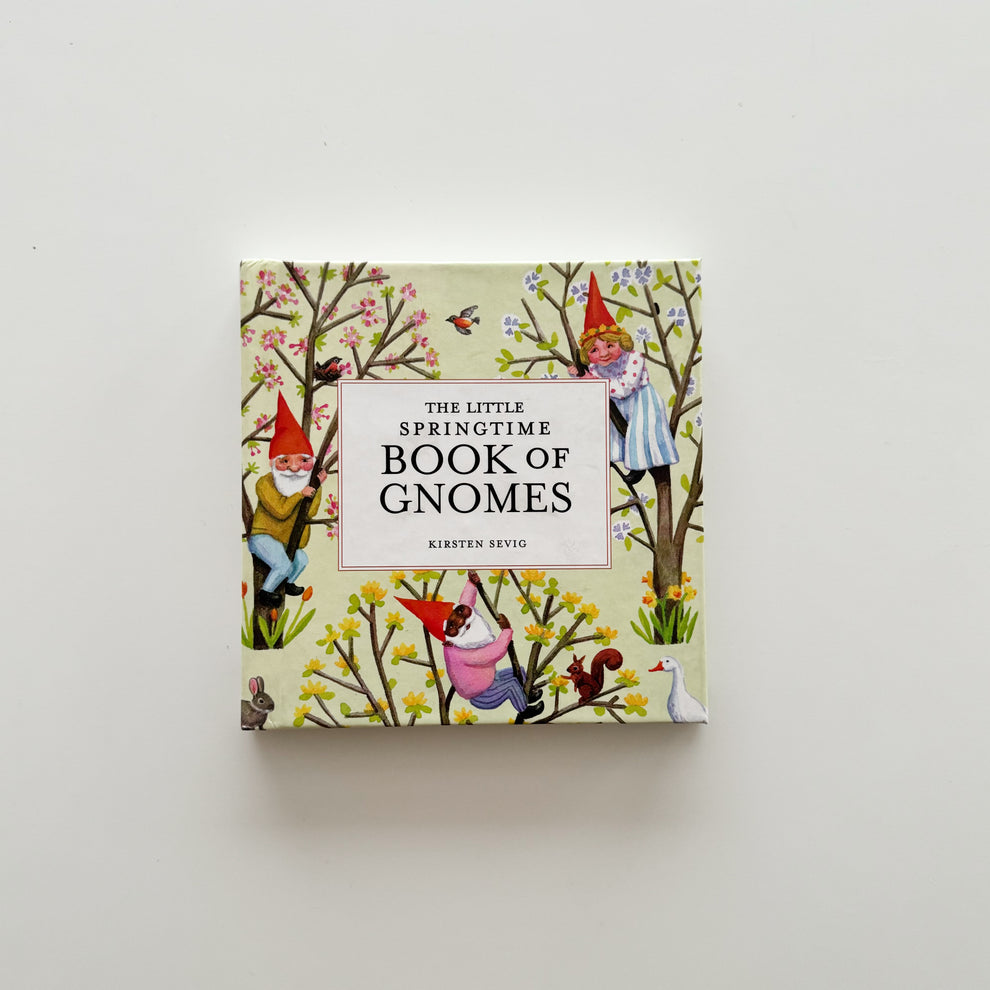
Lots of super cute books are here! We're slowly starting to carry more and more books (this might just become a bookshop!) and are really excited about the newest arrivals. Gardening books, kids' books and coffee table books like Flower Fairies of the Spring by Cicely Mary Barker which is full of her classic and beautifully done illustrations, and The Little Springtime Book of Gnomes by Kirsten Sevig, which includes fun recipes, crafts, and gnome-y wisdom. Both would make excellent additions to Easter baskets or as a host/hostess gift.

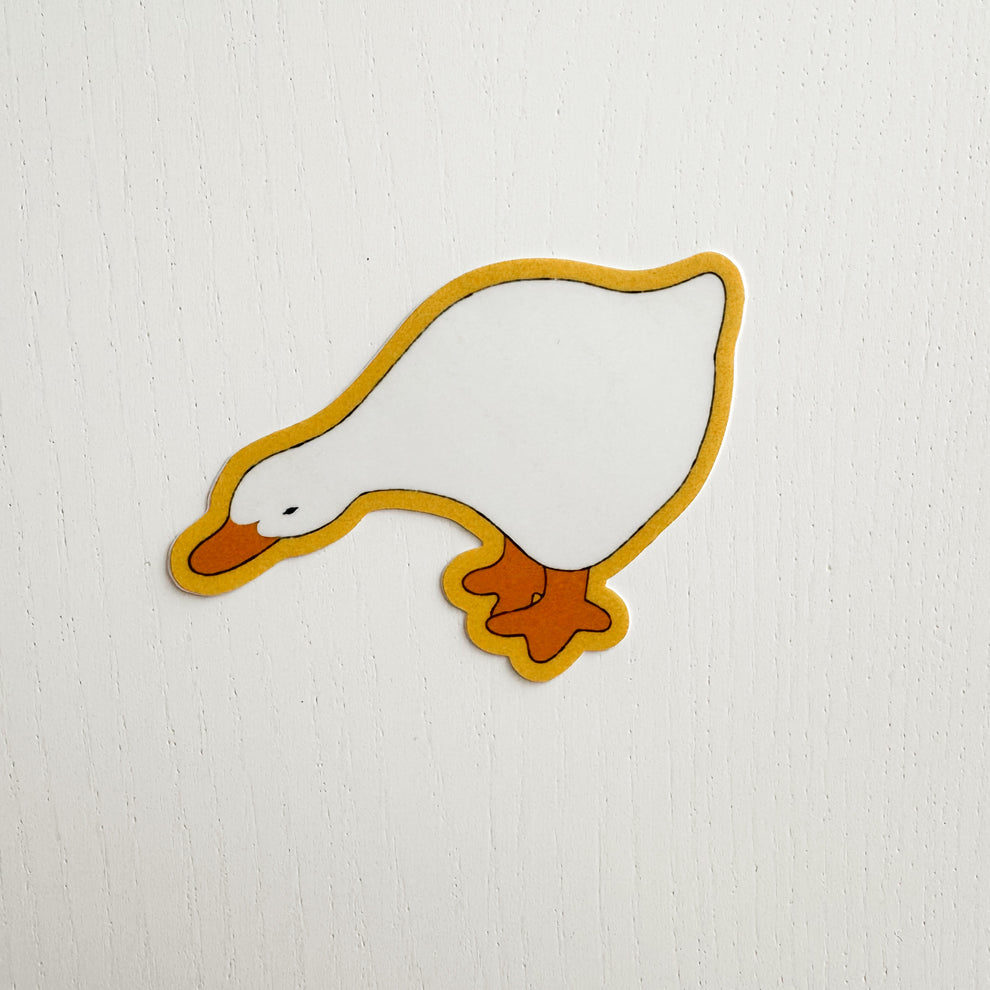
Stickers have to be one of the shop's bestsellers and we have new ones from Canadian artist Sydney Warnes. Sydney is based out of BC and designs a lot of cool stationery including stickers and washi tape for all your journaling and scrapbooking! We love washi tape for decorating, too! Use it to wrap USB cords for added flair, personalize notebooks, hang photos on the wall, create page dividers or bookmarks, etc.

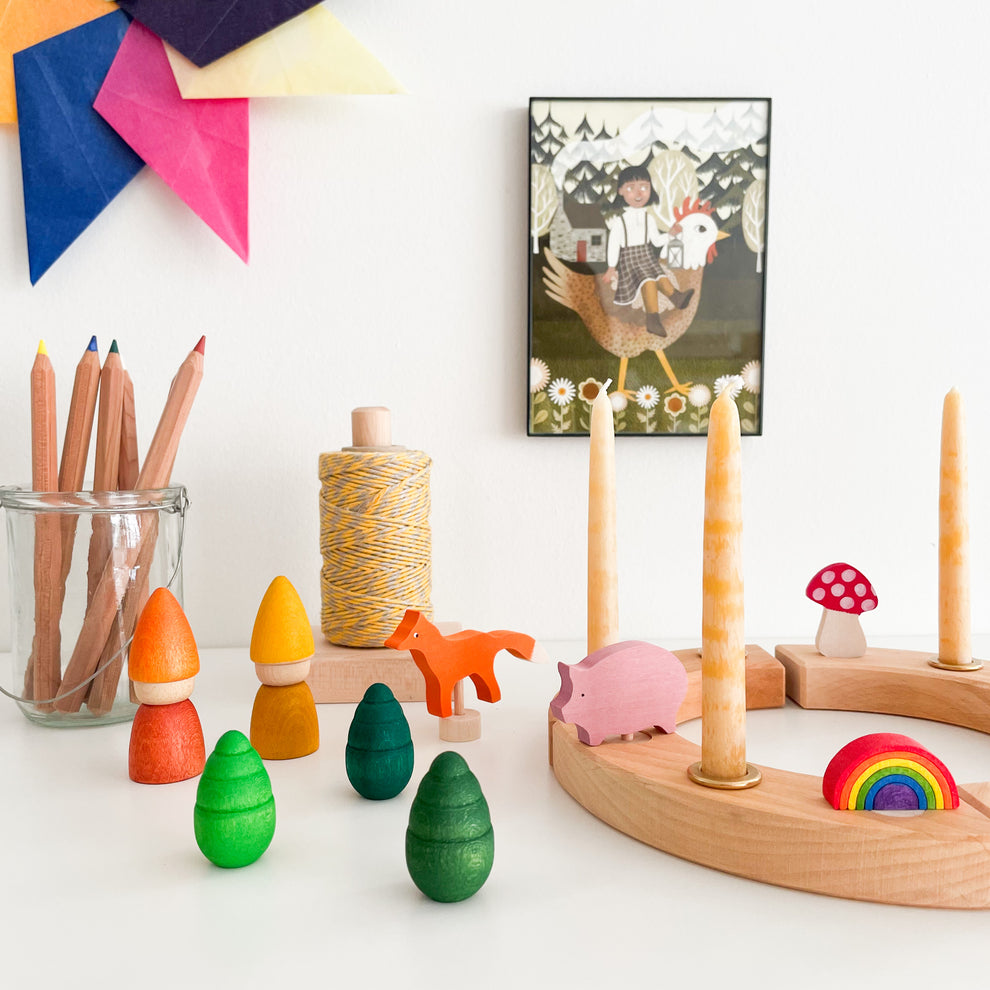
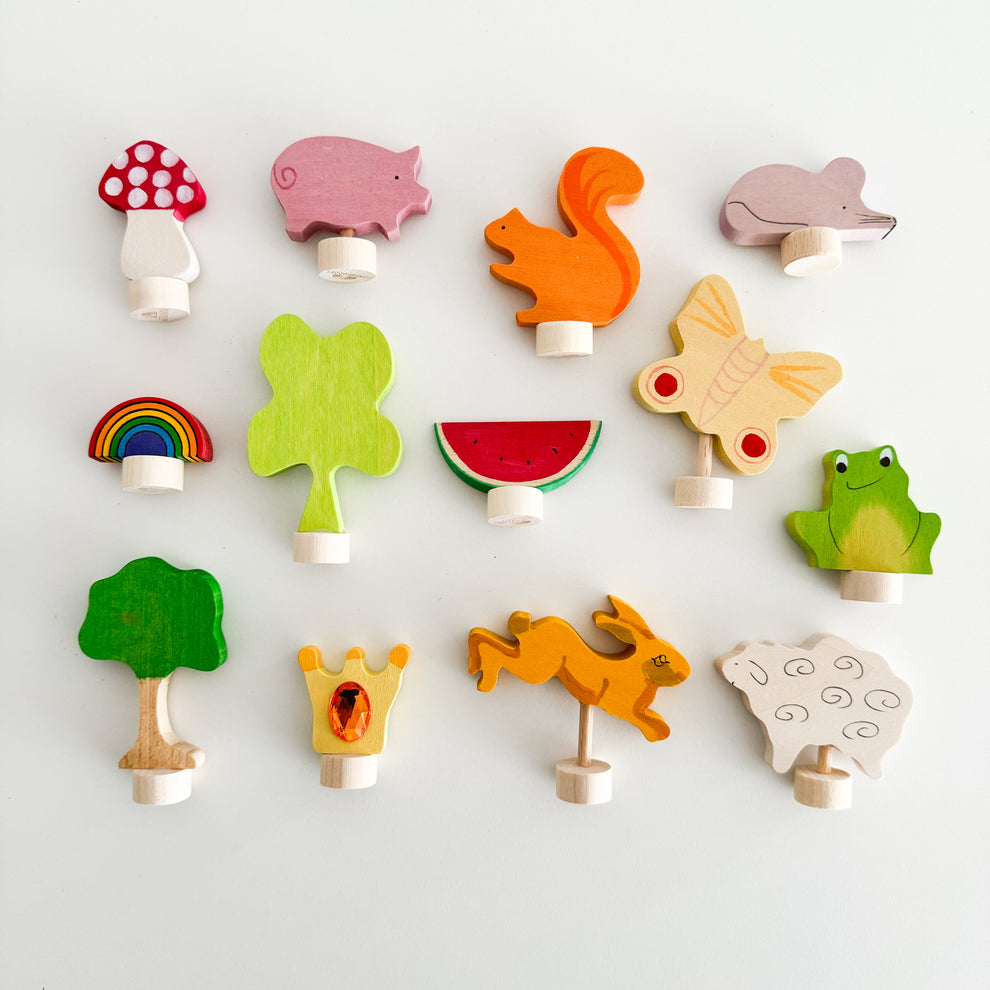
Grimm's birthday ring deco ornaments have been restocked and you can now find their Spring-themed pieces here like clovers, bunnies, and butterflies. Grimm's is made in Germany and they make heirloom-quality toys as well as celebration rings for birthdays, and holidays, to welcome the changing of the seasons, and more! We carry their rings in 12 year as well as 16 year (there's a hole in the ring for each year and it can be used for candles, decorative items, found objects like rocks and shells, etc.). Candles, brass candle holders, decorative ornaments and rings are all sold separately.
Click the links to check out everything in our Spring or Garden collection. We update our collections regularly so be sure to check back often! You never know what you might come across.

Ps! We also just received the cutest buttons that just arrived from our friends at Sticker Mule. Perfect for your jacket or bag. You can even make your own custom buttons on their website .